How to shoot remote portraits with iPhone and Android phones
Having been at the forefront of the remote portrait revolution, and shooting almost 900 facetime photoshoots (and counting!) over the last year I’d like to share with you how the process works!
As a subject:
It really couldn’t be simpler from the subject’s point of view, just download a remote photoshoot app - your photographer will advise you on the best one depending on your phone - you’ll strap your phone to a tin of beans with a hair-tie (my proudest invention EVER) and then you’re basically on a video call with your photographer, who can take hi-res photographs using the full power of your phone’s incredible camera!
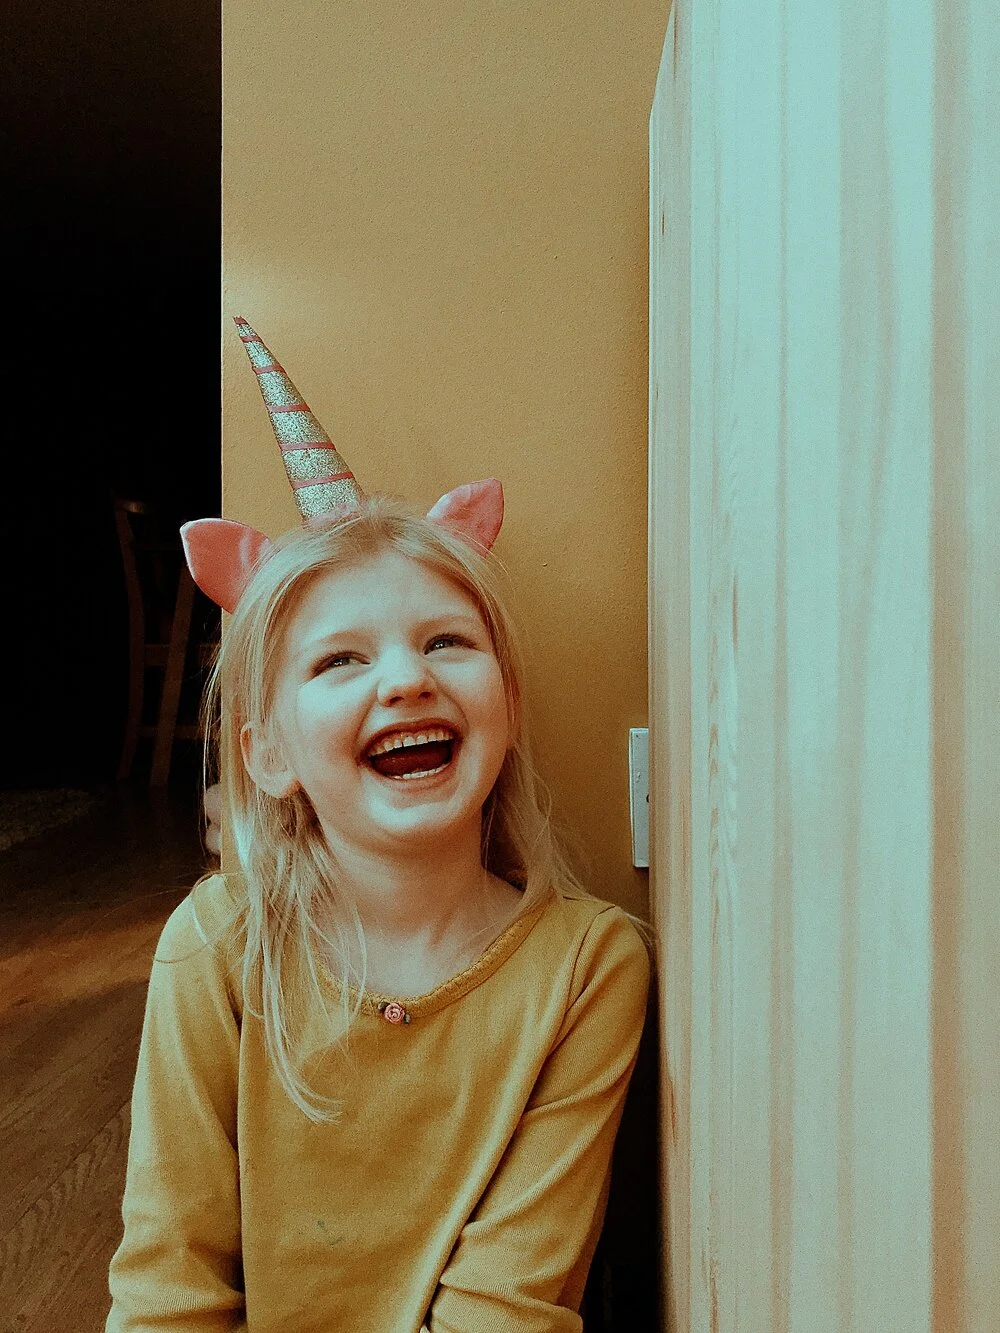
No tech know-how needed, I’ve photographed people from just days old to one chap who was 97!
You’ll need a fully charged battery, and a good chunk of free space on your phone, 4gb+ is ideal.
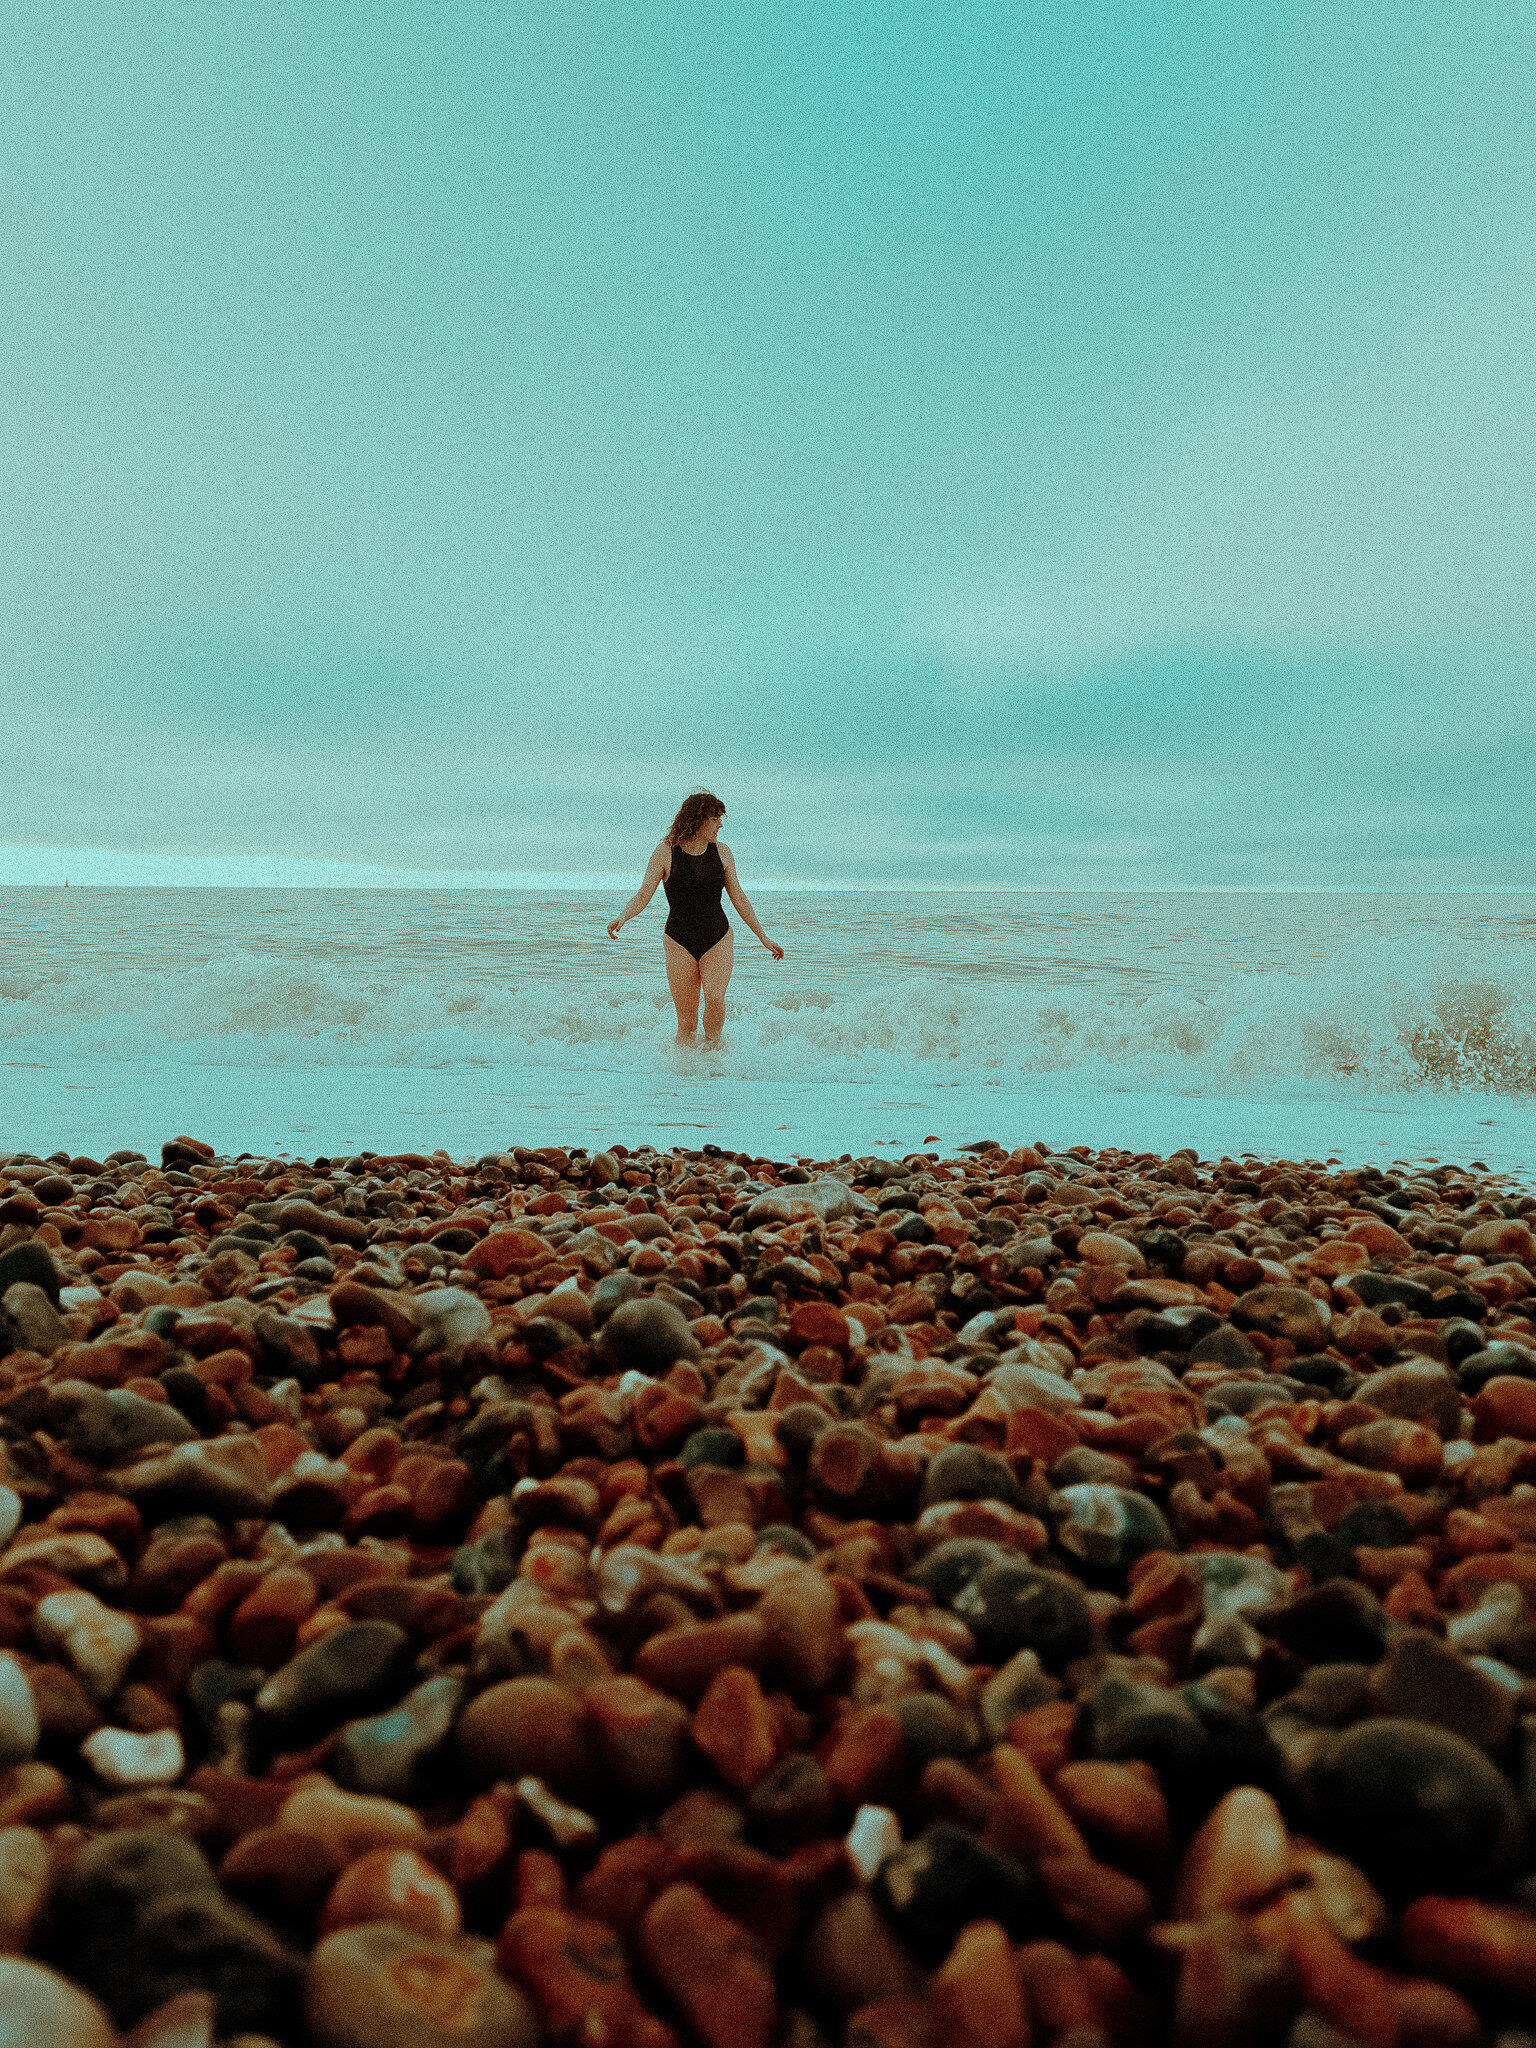
Before booking, watch how the light moves around your home during the day and try to book at a time when it’s doing interesting things!
As a photographer:
Honestly shooting facetime portraits is just about as easy as a photographer as it is as a subject - you both download the remote photoshoot app, either Clos, or Shutter
I’ll be writing a comparison on the features of each app soon, but basically, pending exciting updates from both, my current advice is:
use Clos if you and your subject are both using iPhones
use Shutter if either you or your subject have an Android phone.
Clos allows a two way video-link so the subject is able to see you, whereas the Shutter app currently only offers one-way video so you can see them, but they can’t see you - for me, having the subject able to see me builds connection and trust, which is invaluable, and the reason I always use Clos when possible - Shutter is a fantastic option when it’s not.
*if you find this article helpful please consider linking to it from your website*
If using Clos:
Click here to jump to Shutter instructions
When using the Clos remote photoshoot app, I highly recommend the pro subscription - at just £7.99 a month it’s a steal to be able to keep creating!
You’ll want to turn on the cloud sharing feature when creating a room - this will mean the photos are uploaded from the subject’s phone during the shoot and you can download them as a zip file directly to your computer rather than the subject having to send them to you separately which is how it works if you don’t turn on the cloud sharing option.
How to create a remote photoshoot room in Clos:
open the app
hit ‘create room’
select the ‘I’m a photographer’ option
press ‘continue’
the next screen is where you toggle on the cloud sharing option, it’s the switch inside the big circle - the free version includes 5gb cloud storage which is fine for trying it out but you’ll soon want to upgrade to the pro version with 50gb cloud storage.
hit ‘create room’
you’ll get the standard iPhone ‘what do you want me to do with this link’ screen (it probably has an official name but I don’t know what it is!) hit the ‘copy’ option, and then send the link to your subject - I find a text message easiest
once they’ve hit the link and logged in, selecting the ‘I’m a model’ option, you should find yourselves face to face!
On to the shooting! In most circumstances you’ll want to have the subject switch to the back camera, it offers more options and higher resolution. The icon your subject will need to press is on the bottom right of their screen.
Once you’re on the rear camera, you’ll need to guide your subject to the Good Light, and coach them on how to set up their camera in the right spot. As with all photography getting the light right is absolutely key!
Once you have your subject in the good light, and the phone where you want it, you’re ready to start shooting!
Again, this is super simple! Tap to focus, tap and drag your finger up or down to increase or decrease the exposure, press the big shutter button to take a photo!
On some iPhone models you’ll even get a choice of lenses! You can cycle through the lens options by hitting the 1x icon, if you don’t see the icons you just need to hit the up arrow on the right to reveal them.
You have a choice of shooting JPEG, HEIC, or RAW - I won’t tell you which one to use, try them all and see which makes for the best edit in your eyes - for me, the jpegs are plenty good enough 85% of the time, I’ll only switch over to raw if I’m working with tricky light and know I want the extra leeway in post.
There’s even the option to shoot with the flash on the subject’s camera, which can occasionally come in useful, but will drain their battery even quicker than usual!
At the end of the shoot (and during actually) you can check the progress of the upload by hitting the icon bottom left, it should show you a preview of each image and if they high res version hasn’t yet uploaded it will say so - get used to asking your subject to leave the app open and onscreen for some time after the shoot as it’s not able to upload in the background.
Once the photos have uploaded, rather than saving them to your phone and then transferring them to your computer (which is tedious and time-consuming) if you long-press on the shoot in the gallery screen to select it, and then hit the ‘download’ icon (NOT the delete icon!) you’ll get a link to download a zip file of all the photos - if you can paste this straight into a browser window on your mac then great, do that, and if not you can text/email the link to yourself and open it on your computer from there. Once you have the zip file just unzip it and drag it into lightroom and you’re ready to edit!
If using Shutter:
Little bit of a different workflow for the Shutter app.
How to create a remote photoshoot room in Shutter:
You’ll have the subject download the app either from the App Store for iPhone users, or the Play store for android users.
Once they have the app installed, if they open it up they’re given a code to share with you.
You open up the web app from your computer, and login in with your email, or your google or facebook account. You then input the subject’s name, and the code they’ve shared with you. You have the option to have the high-res files upload as you shoot, or at the end of the session. I can’t say I’ve noticed a benefit to waiting until after the session!
You’re then ready to shoot! You have similar options at this stage to the Clos app, you can choose which file format to shoot in, which lens to use, control the focus point and the exposure - the photos will appear on the right of the screen as you’re shooting, which is great.
Once the files have uploaded from the subjects phone you just download them from the shutter app screen and drag the file into Lightroom - super simple!
I hope you’ve found this guide useful, please share your results with me (I’m @facetimportraits on instagram) and please consider linking to this site from your website - this is super helpful for me!
You can also get me a coffee at ko-fi.com/timdunk if you’d like, I need all the caffeine I can get at the moment!!
Also the best way to understand the process, and get some gorgeous photos, is to book a shoot!!